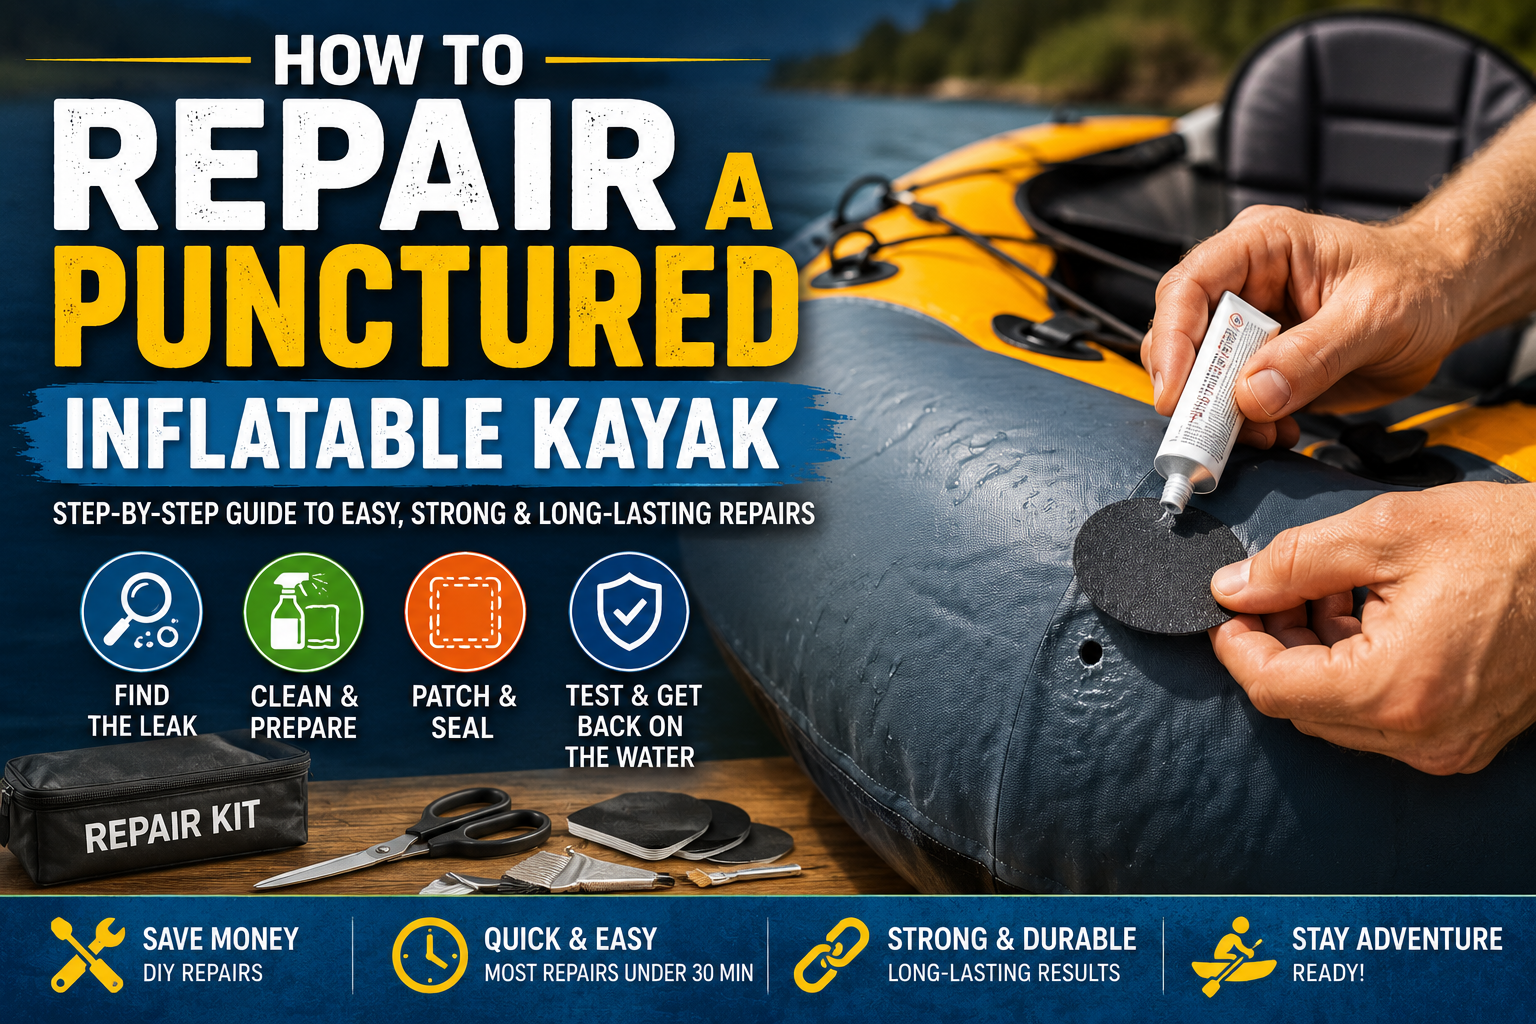
Learning how to repair a punctured inflatable kayak
A puncture doesn’t mean your kayaking adventures are over. Learning how to repair a punctured inflatable kayak can save you money, extend the life of your kayak, and get you back on the water quickly.
Modern inflatable kayaks are surprisingly durable, but sharp rocks, fishing hooks, shells, and debris can occasionally cause leaks. Fortunately, most punctures can be repaired at home with simple tools and the right technique.
What You’ll Learn
- How to locate a puncture or leak
- Essential repair tools and materials
- Step-by-step patching instructions
- How to repair PVC and drop-stitch kayaks
- Emergency repair methods
- Common repair mistakes
- Preventing future punctures
- Long-term repair maintenance
What Is a Punctured Inflatable Kayak?
Quick Definition
A punctured inflatable kayak is a kayak with a hole, tear, seam separation, or valve leak that allows air to escape from one or more chambers. Most punctures are small and can be repaired using a patch kit and waterproof adhesive.
Understanding Common Causes of Inflatable Kayak Punctures
Before repairing the damage, it helps to understand what caused it.
Most Common Causes
- Sharp rocks
- Oyster beds and shells
- Fishing hooks
- Broken glass
- Dragging the kayak on rough surfaces
- Improper storage
- UV-related material weakening
Industry Insight
Manufacturers report that abrasion damage and improper handling account for a significant percentage of inflatable kayak repairs.

How to Find a Leak in an Inflatable Kayak
Finding the exact puncture location is the most important step.
Method 1: Soap and Water Test
Steps
- Inflate the kayak fully.
- Mix water with dish soap.
- Spray suspected areas.
- Watch for bubbles.
- Mark the leak.
Why It Works
Escaping air creates visible bubbles, making small punctures easy to locate.
Method 2: Listening for Escaping Air
Useful for larger punctures.
Steps
- Inflate the kayak.
- Move to a quiet area.
- Listen closely near seams and valves.
Method 3: Water Immersion Test
For removable chambers:
- Inflate chamber.
- Submerge partially.
- Watch for bubbles.
Step-by-Step Inflatable Kayak Repair Process
Step 1: Deflate the Kayak
Release all air from the affected chamber.
Why?
A flat surface ensures proper patch adhesion.
Step 2: Clean the Repair Area
Use rubbing alcohol to remove:
- Dirt
- Oils
- Sand
- Salt residue
Allow the area to dry completely.
Step 3: Prepare the Patch
Best Practice
Cut the patch into a rounded shape.
Rounded edges are less likely to peel than square corners.
Patch Size Rule
The patch should extend at least 1 inch (2.5 cm) beyond the damaged area.
Step 4: Apply Adhesive
Spread adhesive evenly on:
- The patch
- The damaged area
Allow it to become tacky according to manufacturer instructions.
Step 5: Attach the Patch
Press firmly from the center outward.
This removes trapped air bubbles.
Pro Tip
Use a roller or the back of a spoon for maximum pressure.
Step 6: Allow Proper Cure Time
| Adhesive Type | Cure Time |
|---|---|
| Quick Repair Adhesive | 2–6 Hours |
| Standard PVC Glue | 12–24 Hours |
| Professional Marine Adhesive | 24–48 Hours |
Avoid inflating too soon.
Step 7: Test the Repair
Inflate the kayak.
Perform another soap test.
Confirm:
- No air leaks
- Strong adhesion
- Full chamber pressure retention

How to Repair Different Types of Inflatable Kayaks
PVC Inflatable Kayaks
Most recreational kayaks use PVC.
Repair Method
- PVC patch
- PVC adhesive
- Standard cure process
Drop-Stitch Kayaks
Drop-stitch kayaks operate at higher pressures.
Additional Considerations
- Use manufacturer-approved materials
- Allow full curing time
- Test pressure gradually
Hypalon Kayaks
Premium inflatable kayaks often use Hypalon.
Repair Requirements
- Hypalon-specific adhesive
- Specialized repair patches
- Longer curing periods
Emergency Inflatable Kayak Repair on the Water
Quick Answer
Temporary repairs can help you reach shore safely but should not replace permanent repairs.
Emergency Solutions
- Waterproof repair tape
- Self-adhesive patches
- Inflatable repair strips
Emergency Repair Steps
- Dry the damaged area.
- Apply emergency patch.
- Press firmly.
- Reduce chamber pressure.
- Paddle cautiously to shore.
Common Inflatable Kayak Repair Mistakes
1. Repairing a Dirty Surface
Dirt weakens adhesive bonds.
2. Using the Wrong Glue
Different materials require different adhesives.
3. Inflating Too Soon
Premature inflation causes patch failure.
4. Using Small Patches
Insufficient overlap reduces durability.
5. Ignoring Valve Leaks
Not all air loss comes from punctures.
How Long Does an Inflatable Kayak Repair Last?
Quick Answer
A properly completed repair can last for many years and often outlast other parts of the kayak.
Factors Affecting Repair Life
- Surface preparation
- Adhesive quality
- Patch size
- UV exposure
- Water conditions
Preventing Future Inflatable Kayak Punctures
Best Practices
- Avoid dragging the kayak
- Inspect launch areas
- Use protective floor mats
- Store properly
- Keep repair supplies available
Maintenance Checklist
After Every Trip
- Rinse with fresh water
- Check for abrasion
- Inspect seams
Monthly
- Inflate and pressure test
- Inspect valves
- Examine patches
Annually
- Deep clean
- Full leak inspection
- Replace aging repair supplies
DIY vs Professional Repair
| Repair Type | Cost | Best For |
|---|---|---|
| DIY Patch Repair | Low | Small punctures |
| DIY Adhesive Repair | Low-Medium | Medium leaks |
| Professional Repair | Higher | Large tears |
| Manufacturer Service | Highest | Structural damage |
Conclusion
Knowing how to repair a punctured inflatable kayak is an essential skill for every kayak owner. Most punctures can be fixed with a quality repair kit, proper surface preparation, and patience during the curing process. By following the steps in this guide, you can restore your kayak safely, extend its lifespan, and confidently return to the water.
